Before we start
this article serves as a reflection and reminder to myself on what occurred when i tried to self host outline wiki
Context
I’ve an old laptop lying around with these specs:
- Memory: 32 gb
- Storage: 1tb sdd
- Cpu: i7-1165G7 (4 cores / 8 threads)
- Graphics: Intel Iris Xe integrated graphics
and I thought: “I could turn this into a homelab for me to tinker and learn self hosting so why not?”. originally, I wanted to run local LLMs like gemma 4 on this hardware but I realised the graphics card wasn’t up for it.
thus, i formatted the laptop to use ubuntu 26.04, which seemed to be the most beginner friendly way to start.
What I decided on
i took some time to figure out what I want on the server, and settled on self hosting both caddy and outline.
I’ve used outline wiki before and I liked it a lot. It was fast, less clunky than confluence and it can be self hosted with docker.
also, I wanted to learn how to setup a reverse proxy with caddy. out of the box, it provides self signed certificates for SSL which is quite convenient as well because I only want to access everything within my local area network (LAN).
i thought the process will be quite straightforward, it’d be a one day job and I’d have scratched my itch to learn.
- install caddy on bare metal, setup reverse proxy
- setup docker
- get outline wiki docker compose, setup environment variables and start the docker compose
- voila, i’d have my outline wiki ready to access across my lan
However, self hosting outline wiki required more work than I expected.
The trip up
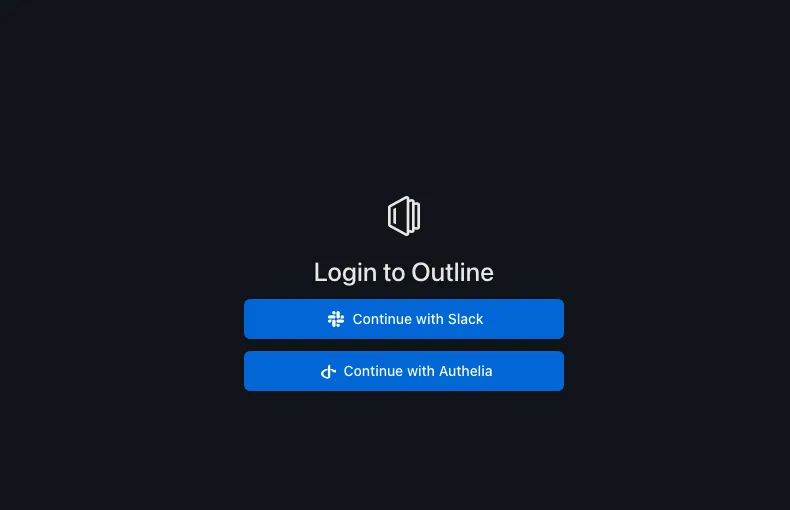
i assumed outline supported email and password authentication, but they didn’t. instead, it offers third party authentication such as Google, Gitlab, Discord and so on but I didn’t like the idea of relying on an online service for authentication so I needed to configure oidc.
since I decided to use caddy, I couldn’t use the recommended https-portal which provides a lets encrypt cert out of the box. I had to figure out how to use caddy to issue self signed certificate on the reverse proxied route on outline wiki.
lastly, I didn’t want to pay a dime for a domain which made it that much more harder for myself.
What I did
after experimenting, I settled on the following architecture
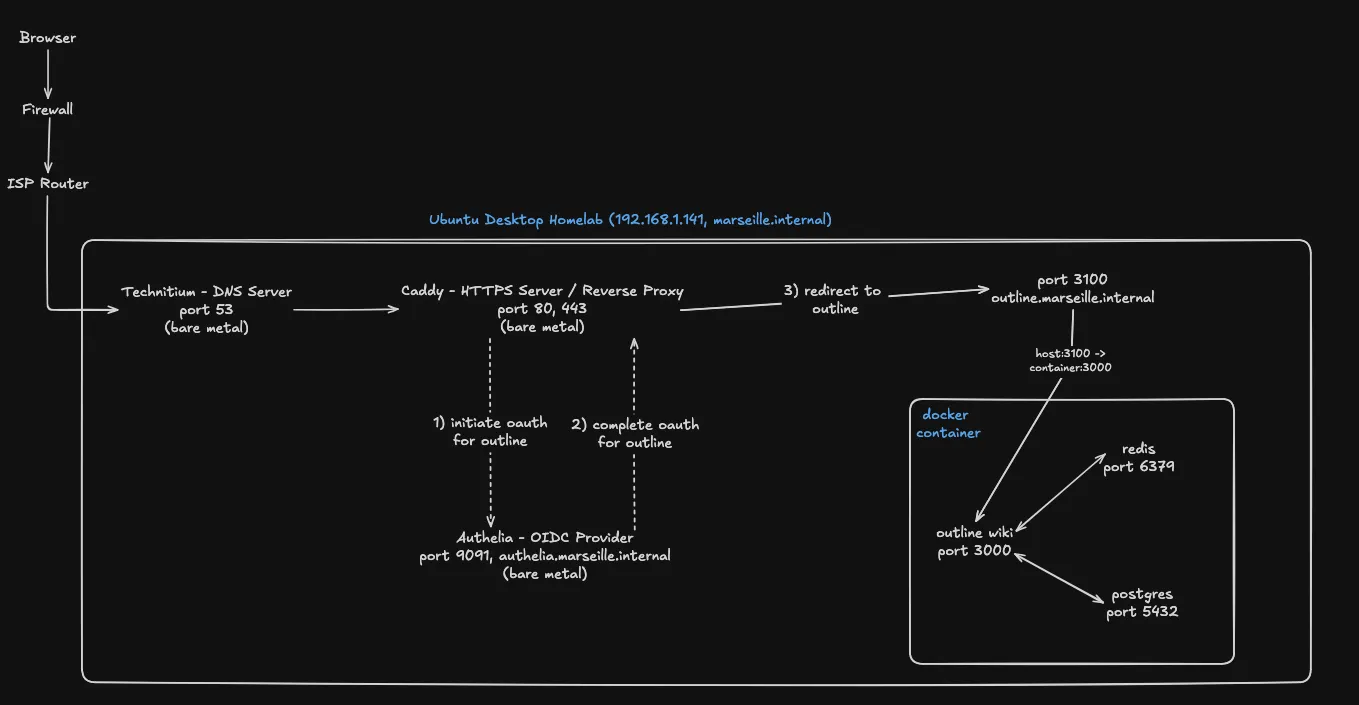
- Technitium - A DNS server to create a DNS zone called
marseille.internaland hostnames likeoutline.marseille.internalandauthelia.marseille.internal- .internal or .home.apra are reserved keywords from ICANN for private use
- Caddy - A reverse proxy to expose outline wiki with a proper hostname like
outline.marseille.internalinstead of remembering the ip and port (192.168.1.141:3100) - Authelia - A OIDC provider which supports email and password authentication for outline wiki
- Outline wiki - the application I want to self host
Rationale
Technitium, authelia and caddy are installed on bare metal. These applications are going to be used by one or more services, and there isn’t a need for scaling, so I skipped docker and the need to deal with an additional layer of networking.
Outline wiki is on a docker container. It’s an application I could switch out any time if I wanted to, and I didn’t want any lingering dependencies if I ever removed it. It has its own internal network, saving me the trouble of dealing with port conflicts with commonly used service like redis or postgres.
Reminders
These are reminders to myself on what I did to both technitium and authelia.
Technitium
Setting up technitium was straightforward, I followed the instructions here.
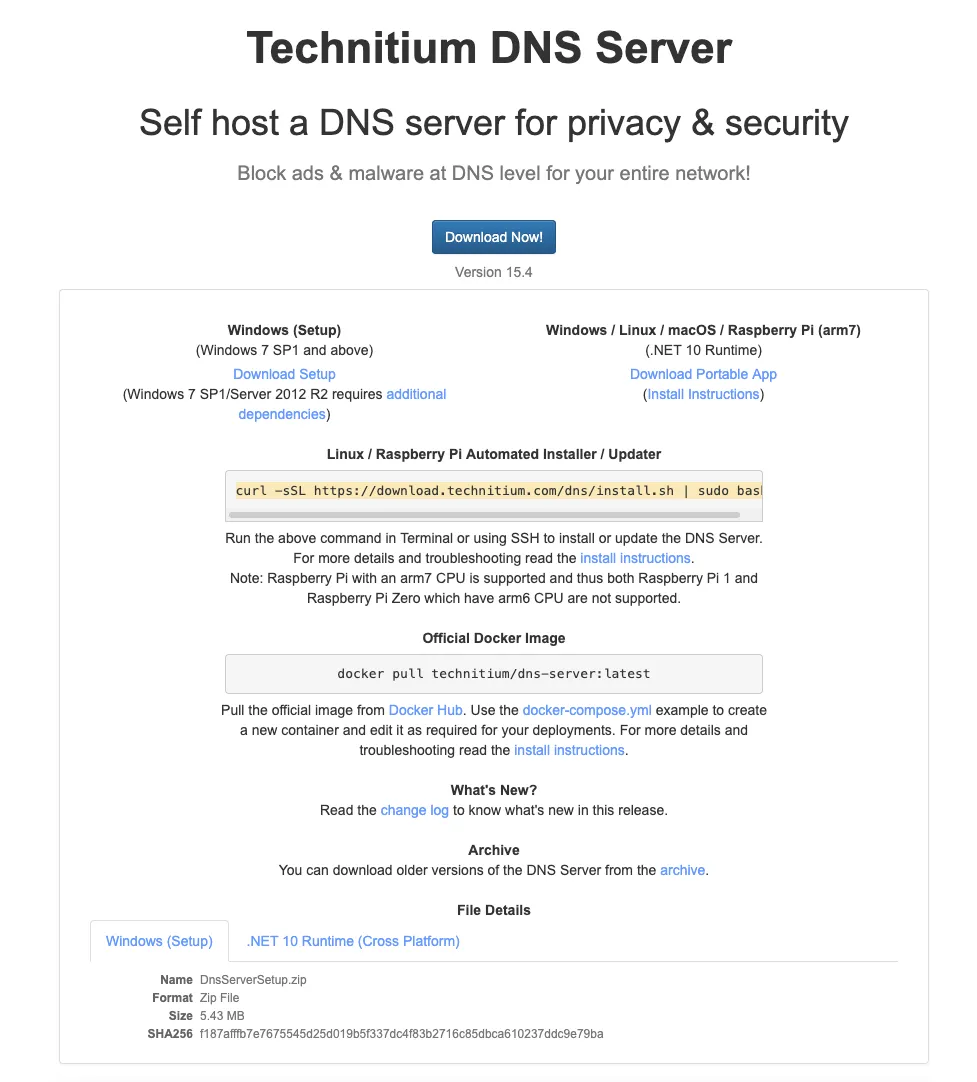
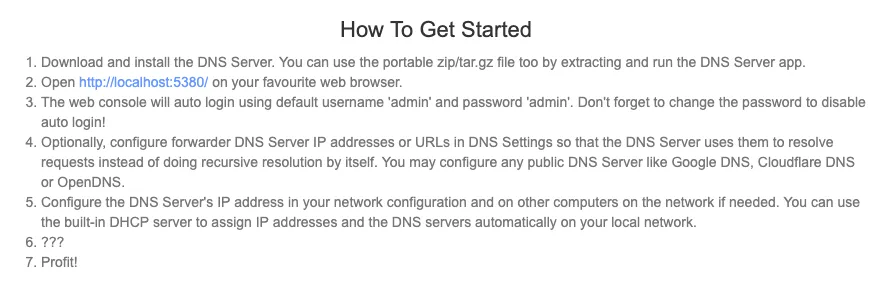
Fortunately, I didn’t run into any issues with port binding as mentioned in: Common Issue With Ubuntu. Once everything was done, I checked the status with sudo systemctl status.service and visited http://localhost:5380
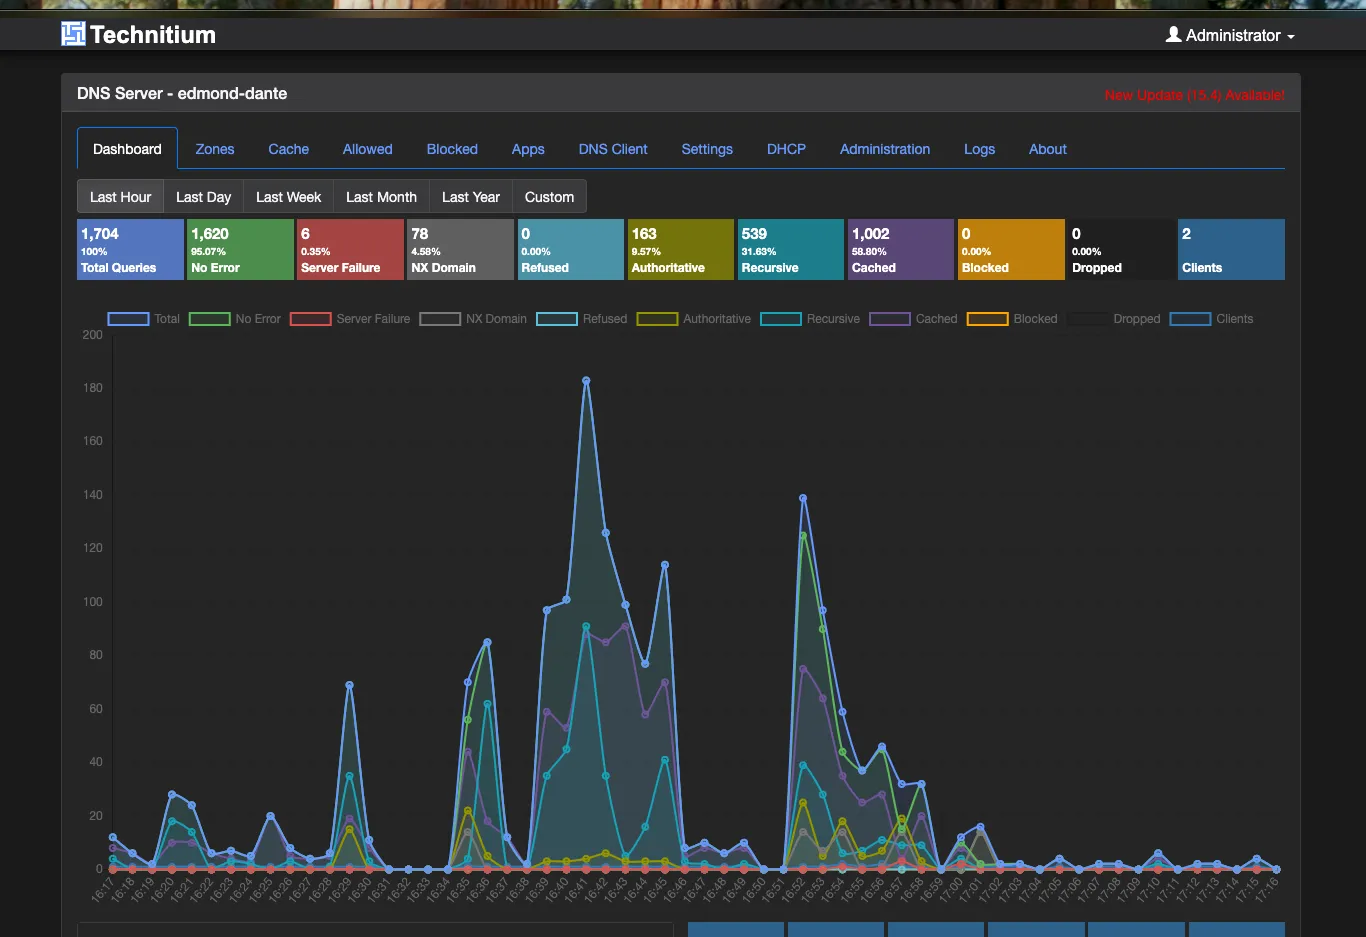
Once in, I created the following A records for authelia and outline.
- authelia.marseille.internal -> 192.168.1.141:9091
- outline.marseille.internal -> 192.168.1.141:3100
Authelia
Setting up authelia was quite unintuitive, the docs didn’t give much instructions on how to start post installation. After following the installation guide. I expected some docs along the lines of “here are the commands to get you started” or “here’s a guide to ubuntu” but there was none. Only Get Started existed.
Thankfully, I remembered authelia runs with systemd on bare metal. So I figured that if I ran sudo systemctl status authelia.service something would pop up and it did!
updating configuration
It showed me a bunch of errors regarding an incomplete configuration.yml, showed me where the file (/etc/authelia/configuration.yml) was and what to fix. In this case its something about the telemetry key, heading to the docs I can find more information about telemetry and configure it.
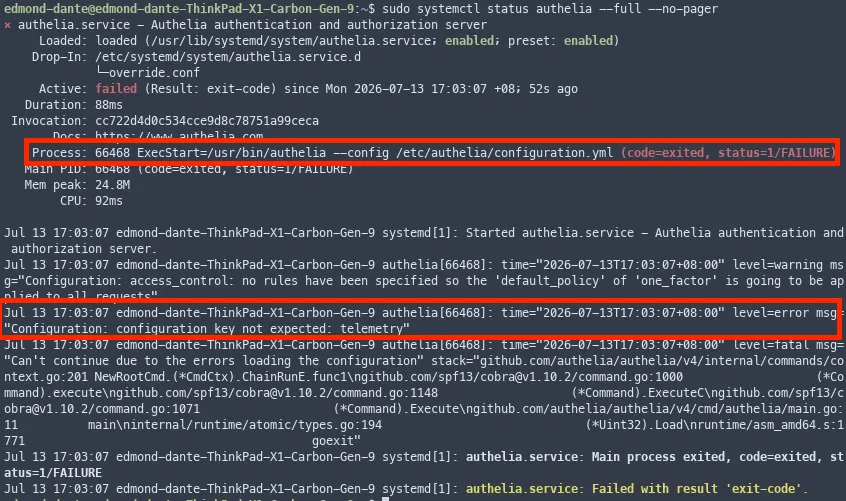
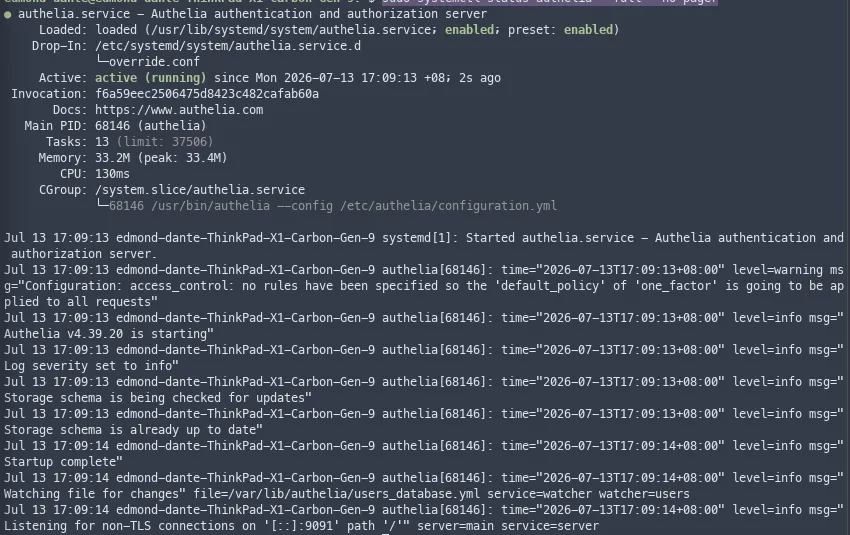
After addressing the issue and saving the configuration file, I just needed to run sudo systemctl restart authelia and sudo systemctl status authelia --full --no-pager to ensure that everything works
Seeding initial users
authelia requires a default user to be created, which is defined within the /etc/authelia/configuration.yml.

I populated it like so following the setup mentioned

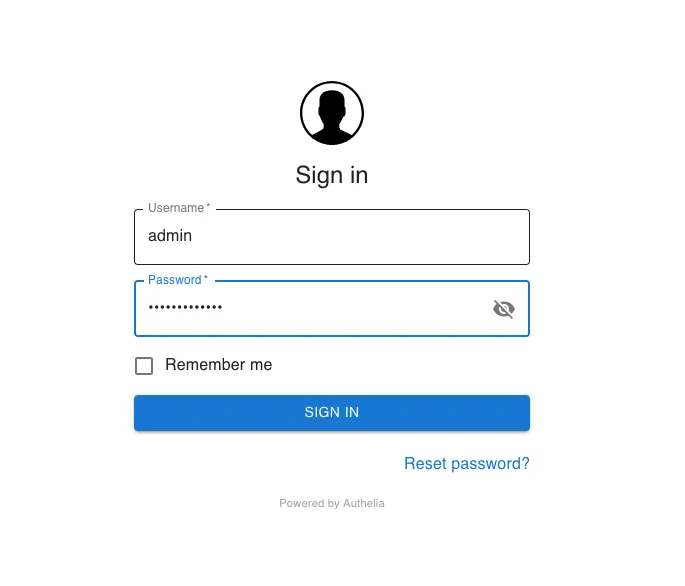
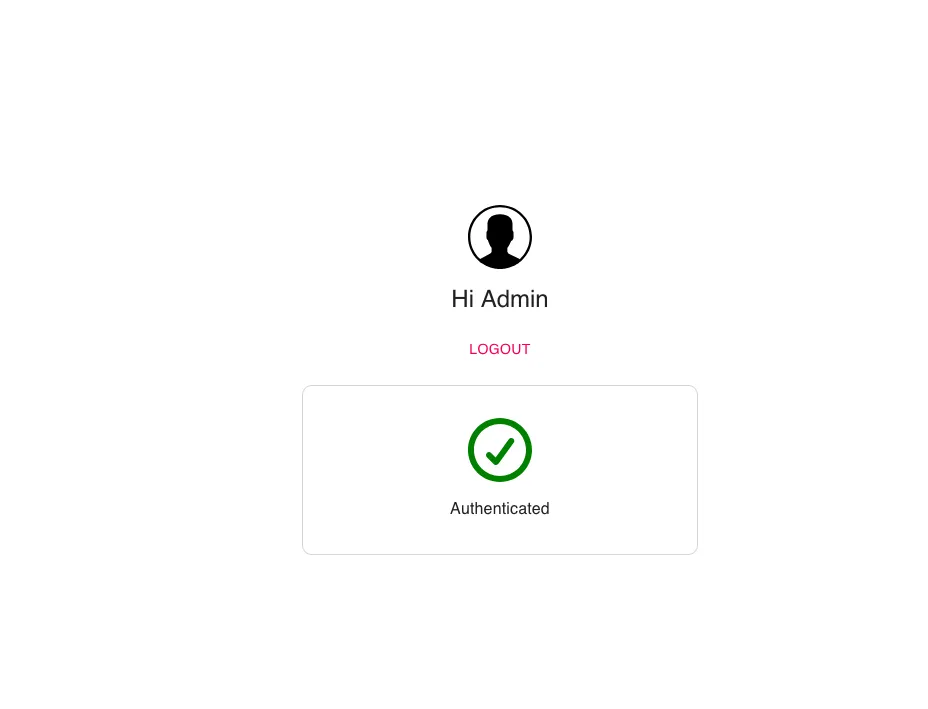
With the user seeded, I visited the https://authelia.marseille.internal and logged in
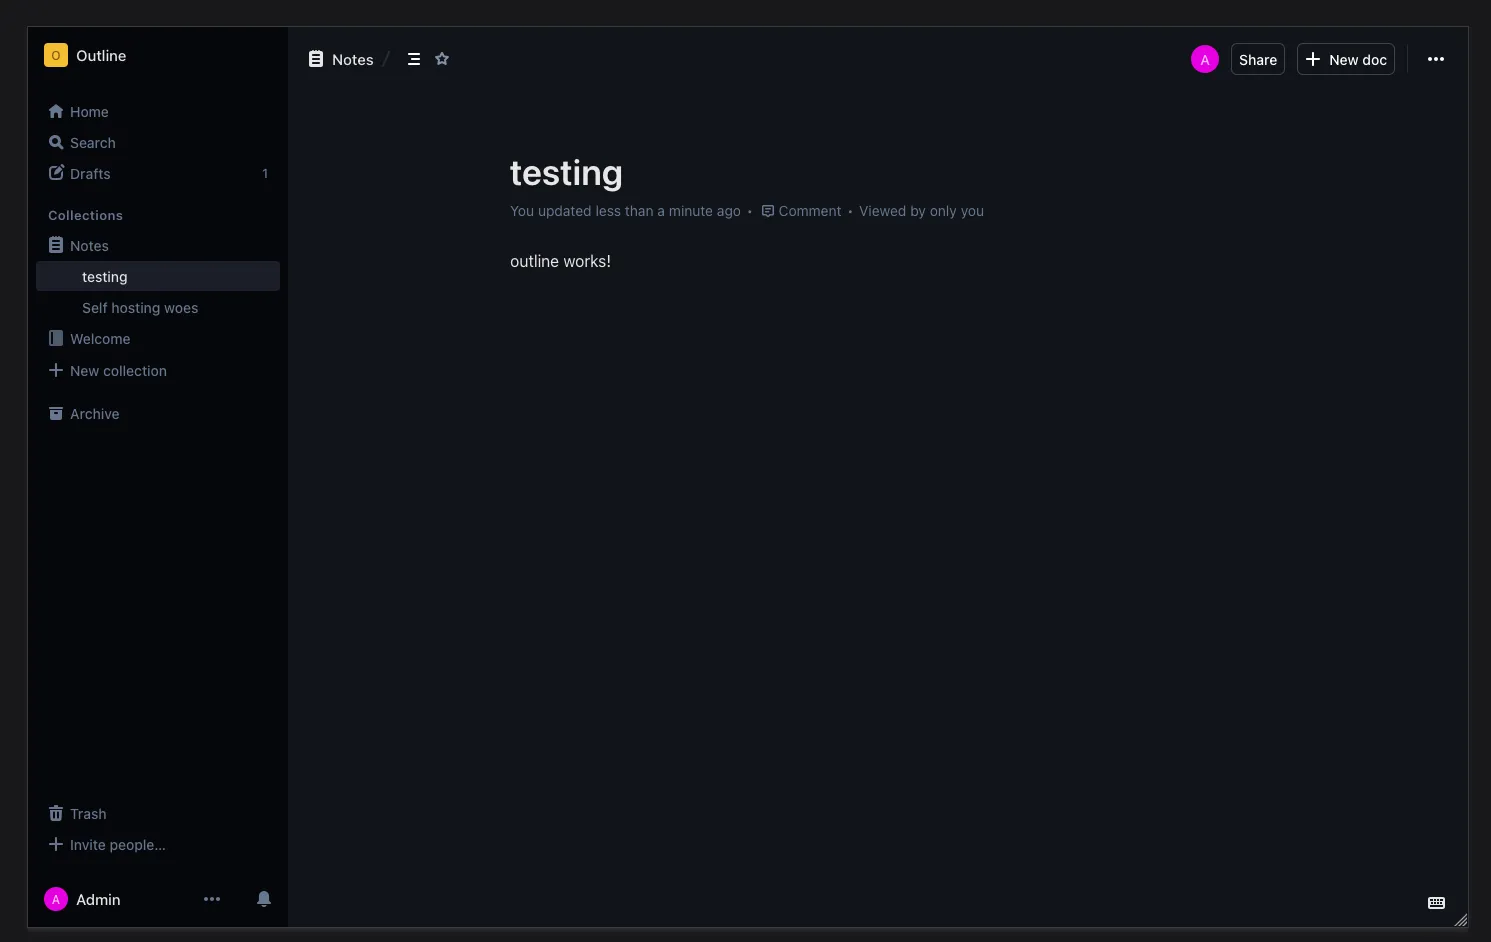
Outline works!
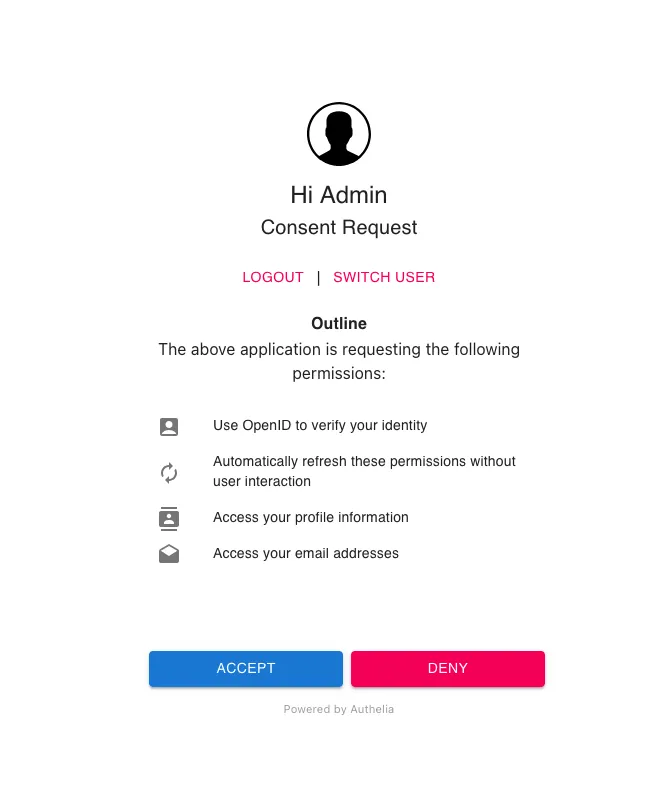
With authelia in place, and adding its oidc creds to authelia based on https://www.authelia.com/integration/openid-connect/clients/outline/ .
I could visit https://outline.marseille.internal
Takeaways
I never expected self hosting outline wiki to be such a journey, it took five days instead of one! Along the way, it refreshed my memory on so many things such as
- what does my router do again?
- what does a dns server do? and how does technitium help in this case
- reading the docs and figuring out how to setup tools like authelia
- get it through my head that reverse proxy is literally a collection of internal ip address and port to a public domain or subdomain
and so on.
All these to scratch my itch of self hosting. With this new found knowledge, I realise self hosting isn’t as difficult as I thought. Though certain application like outline wiki can give a big trip, but I feel like with the current architecture I have can go a long way.
So what’s my biggest lesson here? I’d say it’s remembering the process matters more than the outcome. I know I’ll be able to self host outline wiki (outcome) but I tend to procrastinate thinking that it’ll be easy, and as it turns out it wasn’t and I learned a lot.
So if I procastinate it means I should probably do it, sounds like a pretty good signal to do stuff.