context
well well, regardless on how difficult or challenging soldering is, i can’t run away from it if i want my hardware projects to graduate from the breadboard.
so i took some time to research, purchase equipments to learn and practice soldering!
what is soldering?
soldering is the process of either
- attaching pin heads to component via its through holes
- attaching a component to a circuit board
however, it’s not enough to know how to bind the components together, i need to know how to remove it as well.
thus, i’ve set these standards for myself to be considered having a basic level of proficiency:
- taking care of the solder tip for longevity
- apply solder to the components without burning the board
- forming a passable solder joint without air
- desolder the component and try again if any mistakes are made
gathering equipments
with the goal in mind, it was time to purchase the equipments.
the items were purchased from varying places:
- taobao
- sim lim square
- hardware shop near my house
soldering station
it’s a GeeBoon TC22, costing roughly 355 RMB ($67.08 SGD), and this is how the entire set looks like unboxed:
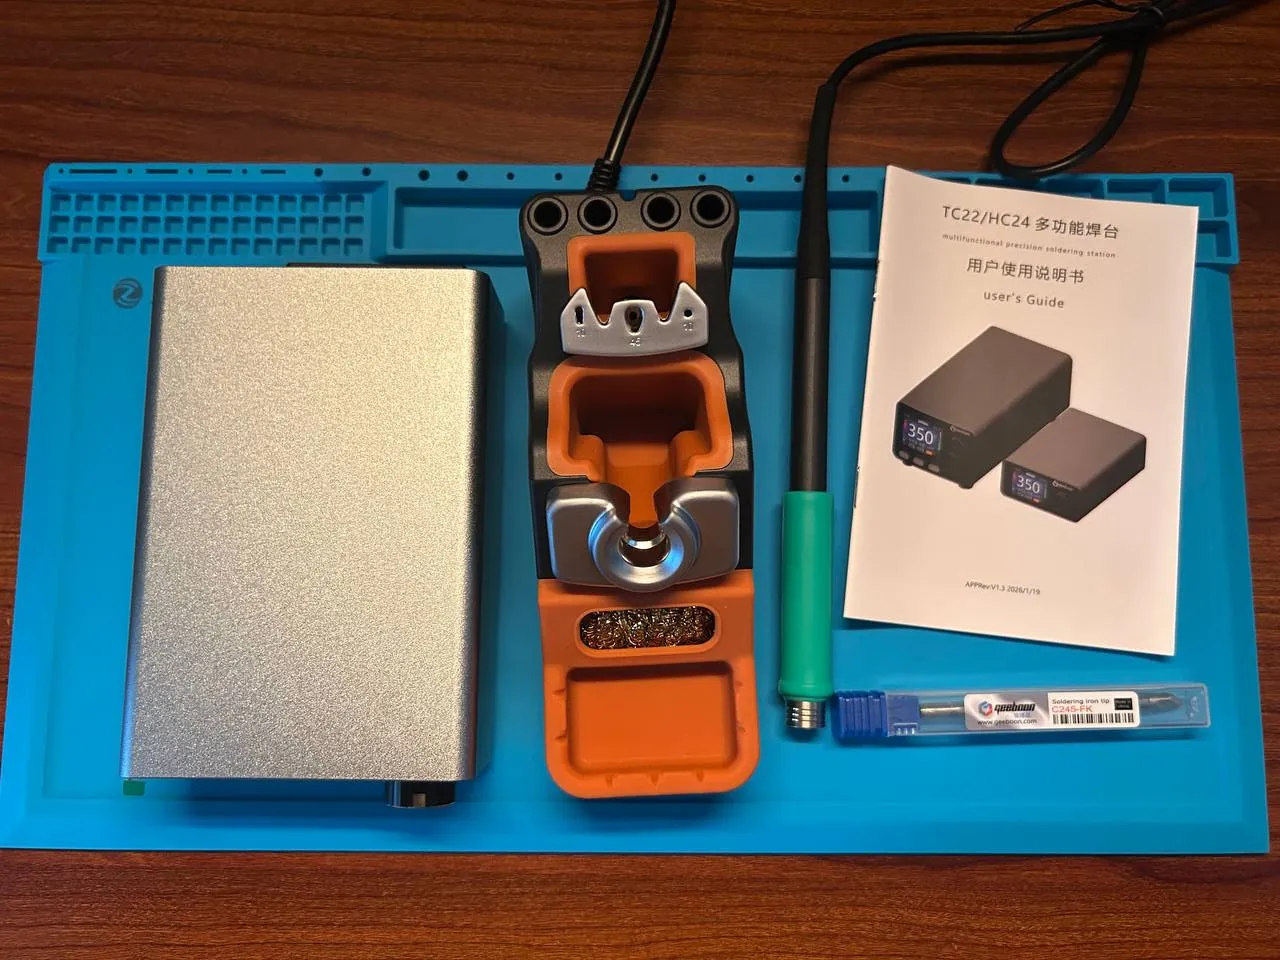
here are the details of the parts
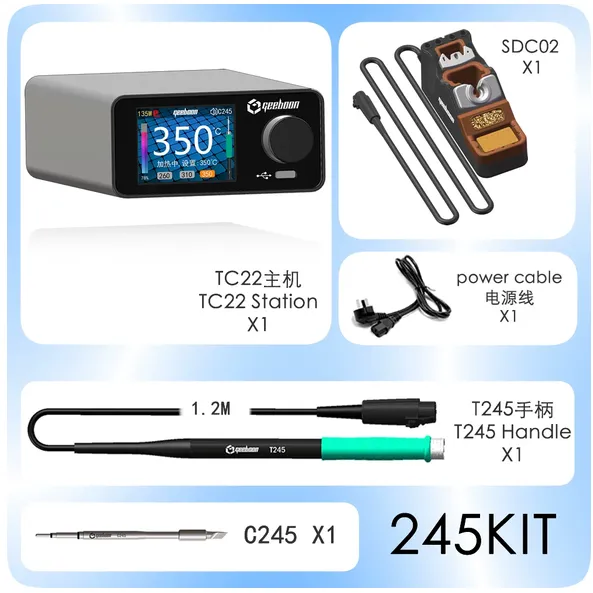 this is a detailed review of how it works and what you get out of the box
why this solder station?
i could’ve bought one of those cheaper two in one heating plus solder unit, with a small footprint and i can charge it with an USB C cable. much like an alientek t90
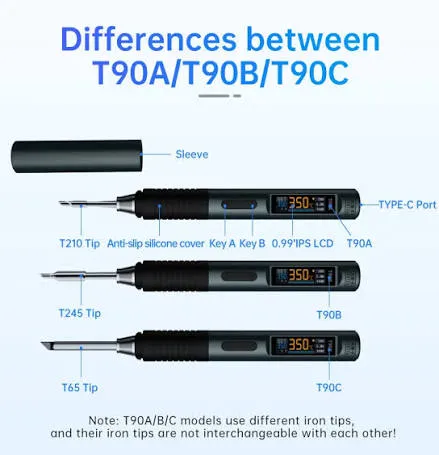
but i decided against it because:
- in my experience, 2 in 1 product tends to not work well as advertised
- if the pen is dropped due to my clumsiness, i risk damaging the entire thing
- i want to focus on learning how to solder, instead of spending time figuring out why it doesn’t work if it malfunctions
- i could still sell it at a second hand market, if i’m not interested in it down the line
soldering wire
i just got a cheap 60/40 ($5 SGD) mix from my hardware store downstairs.
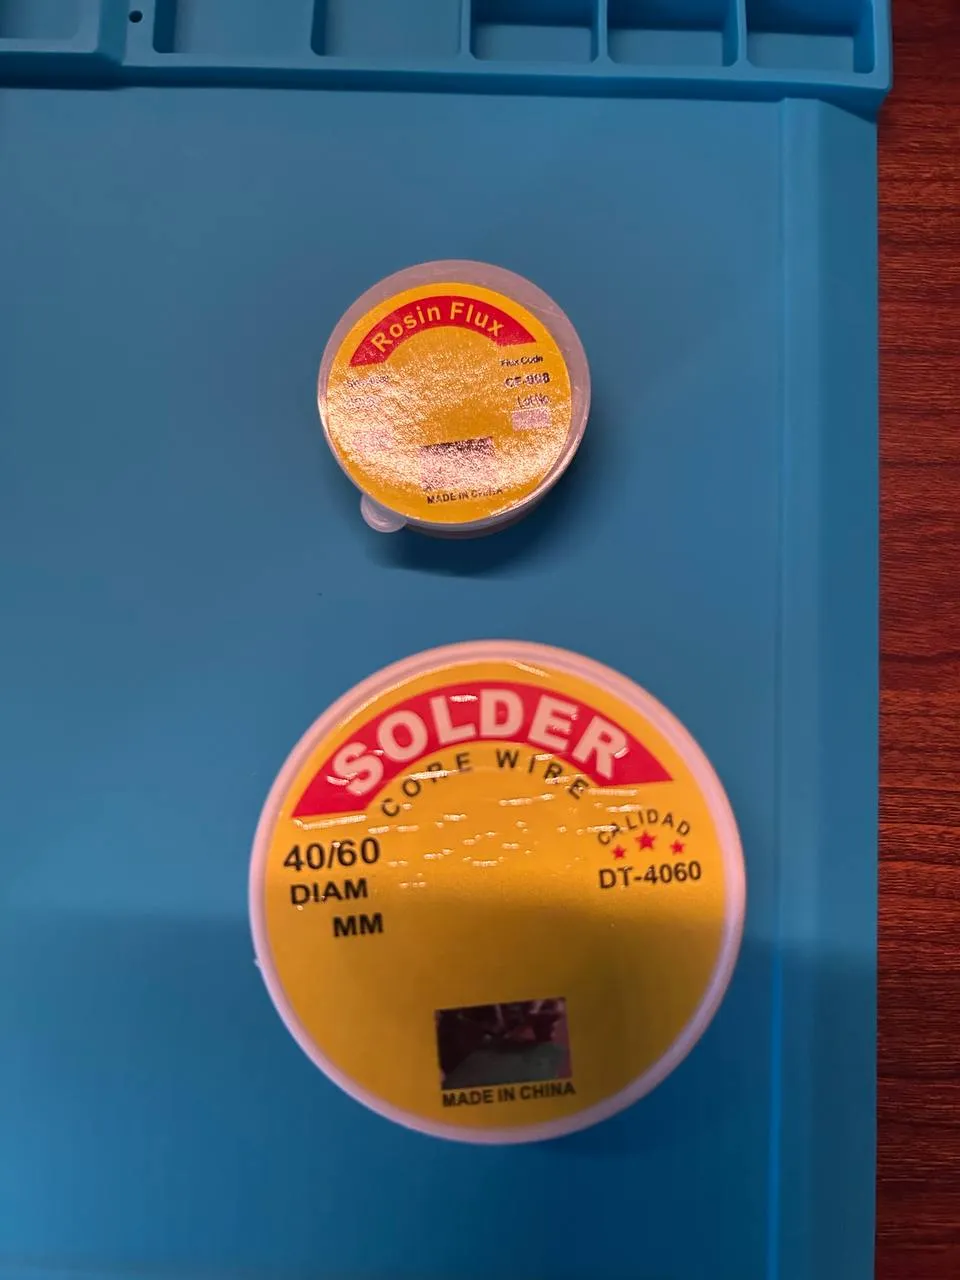
60/40 means 60% lead, and 40% tin. the composition of lead and tin makes it easier for the solder wire to melt due to a lower melting point.
however, i am also inhaling lead fumes which is NOT healthy. i had to stopped soldering at times because i was getting lightheaded from it
solder tip
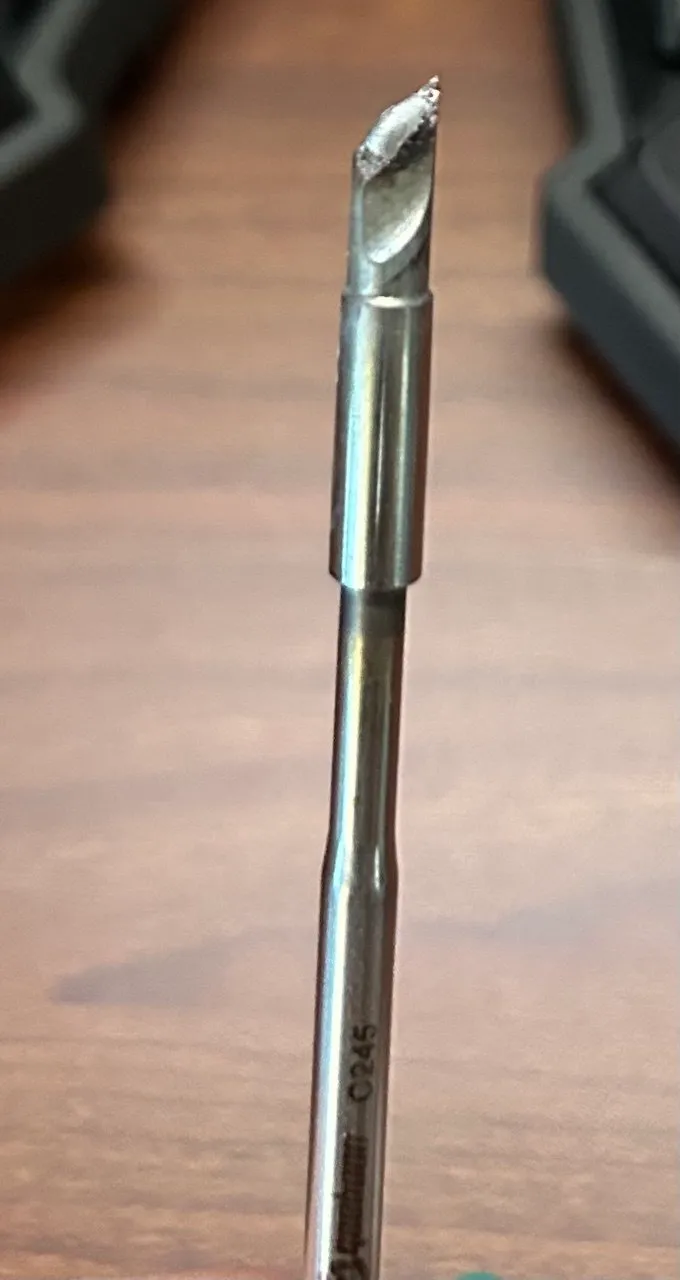 this is a C245 K (knife) tip
the C245 is important, it indicates the series of the soldering tips.
it is made to be compatible with the T245 handle that came with the soldering station.
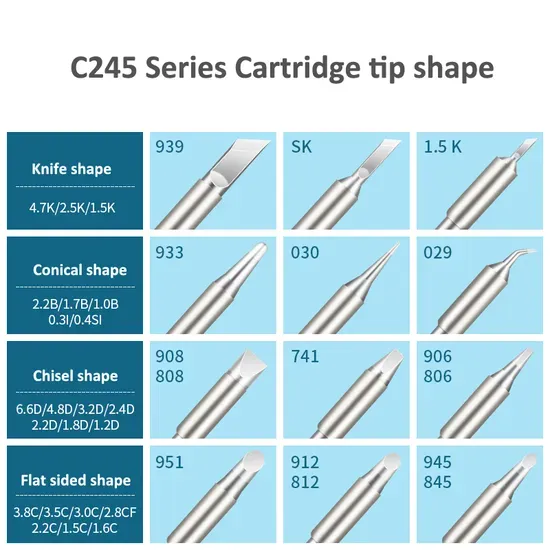
there are other C245 tips like these:
flux
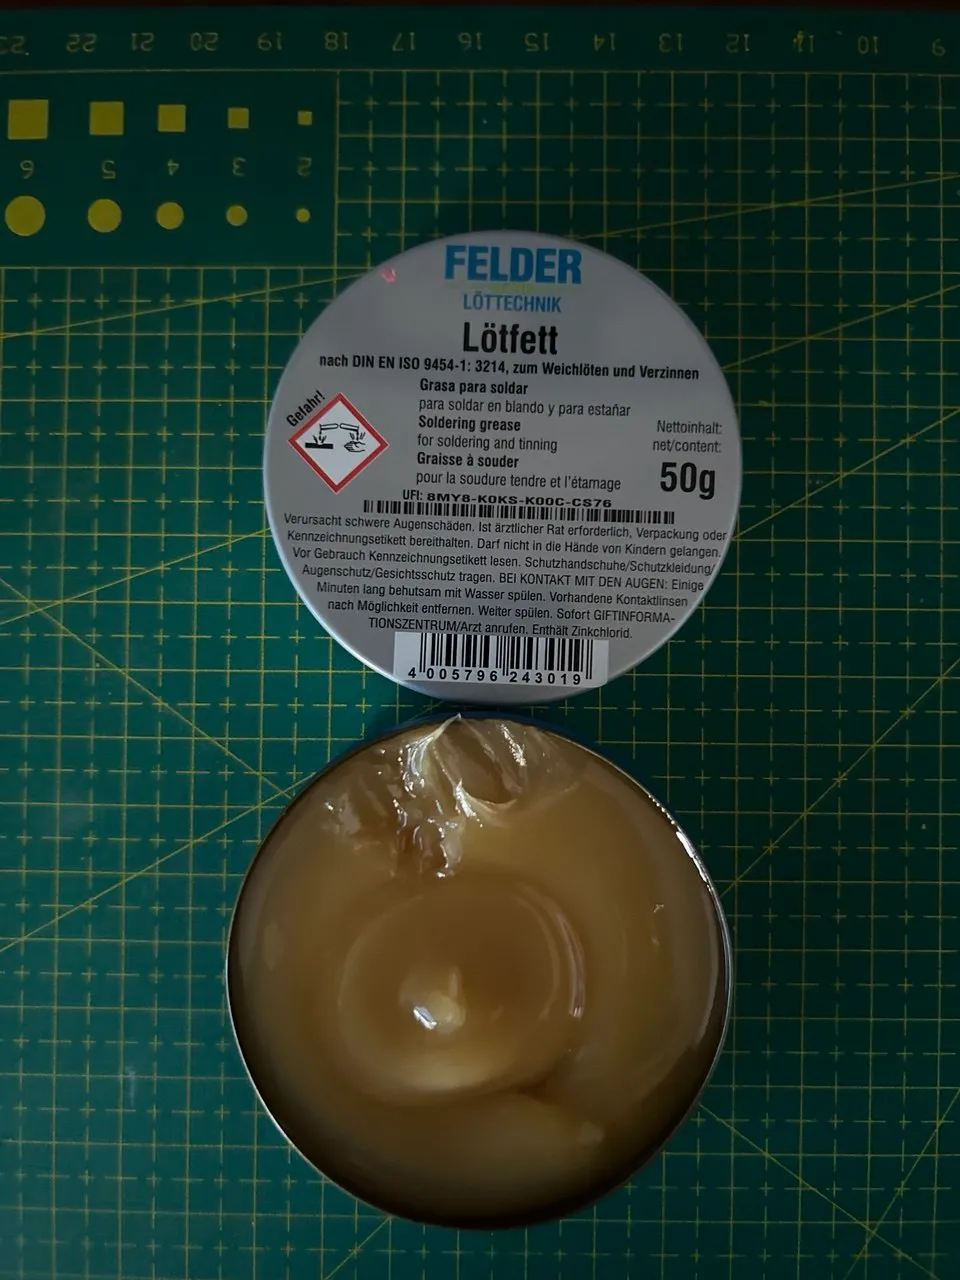
flux is important! it guides the molten solder to the right place and it cleans out the contact pad of any dirt or grim which might prevent the solder from being applied
i got this from sim lim tower for 6 SGD, it’ll last me quite a while
desoldering
i got a desoldering pump, well to remove solder if i mess up:
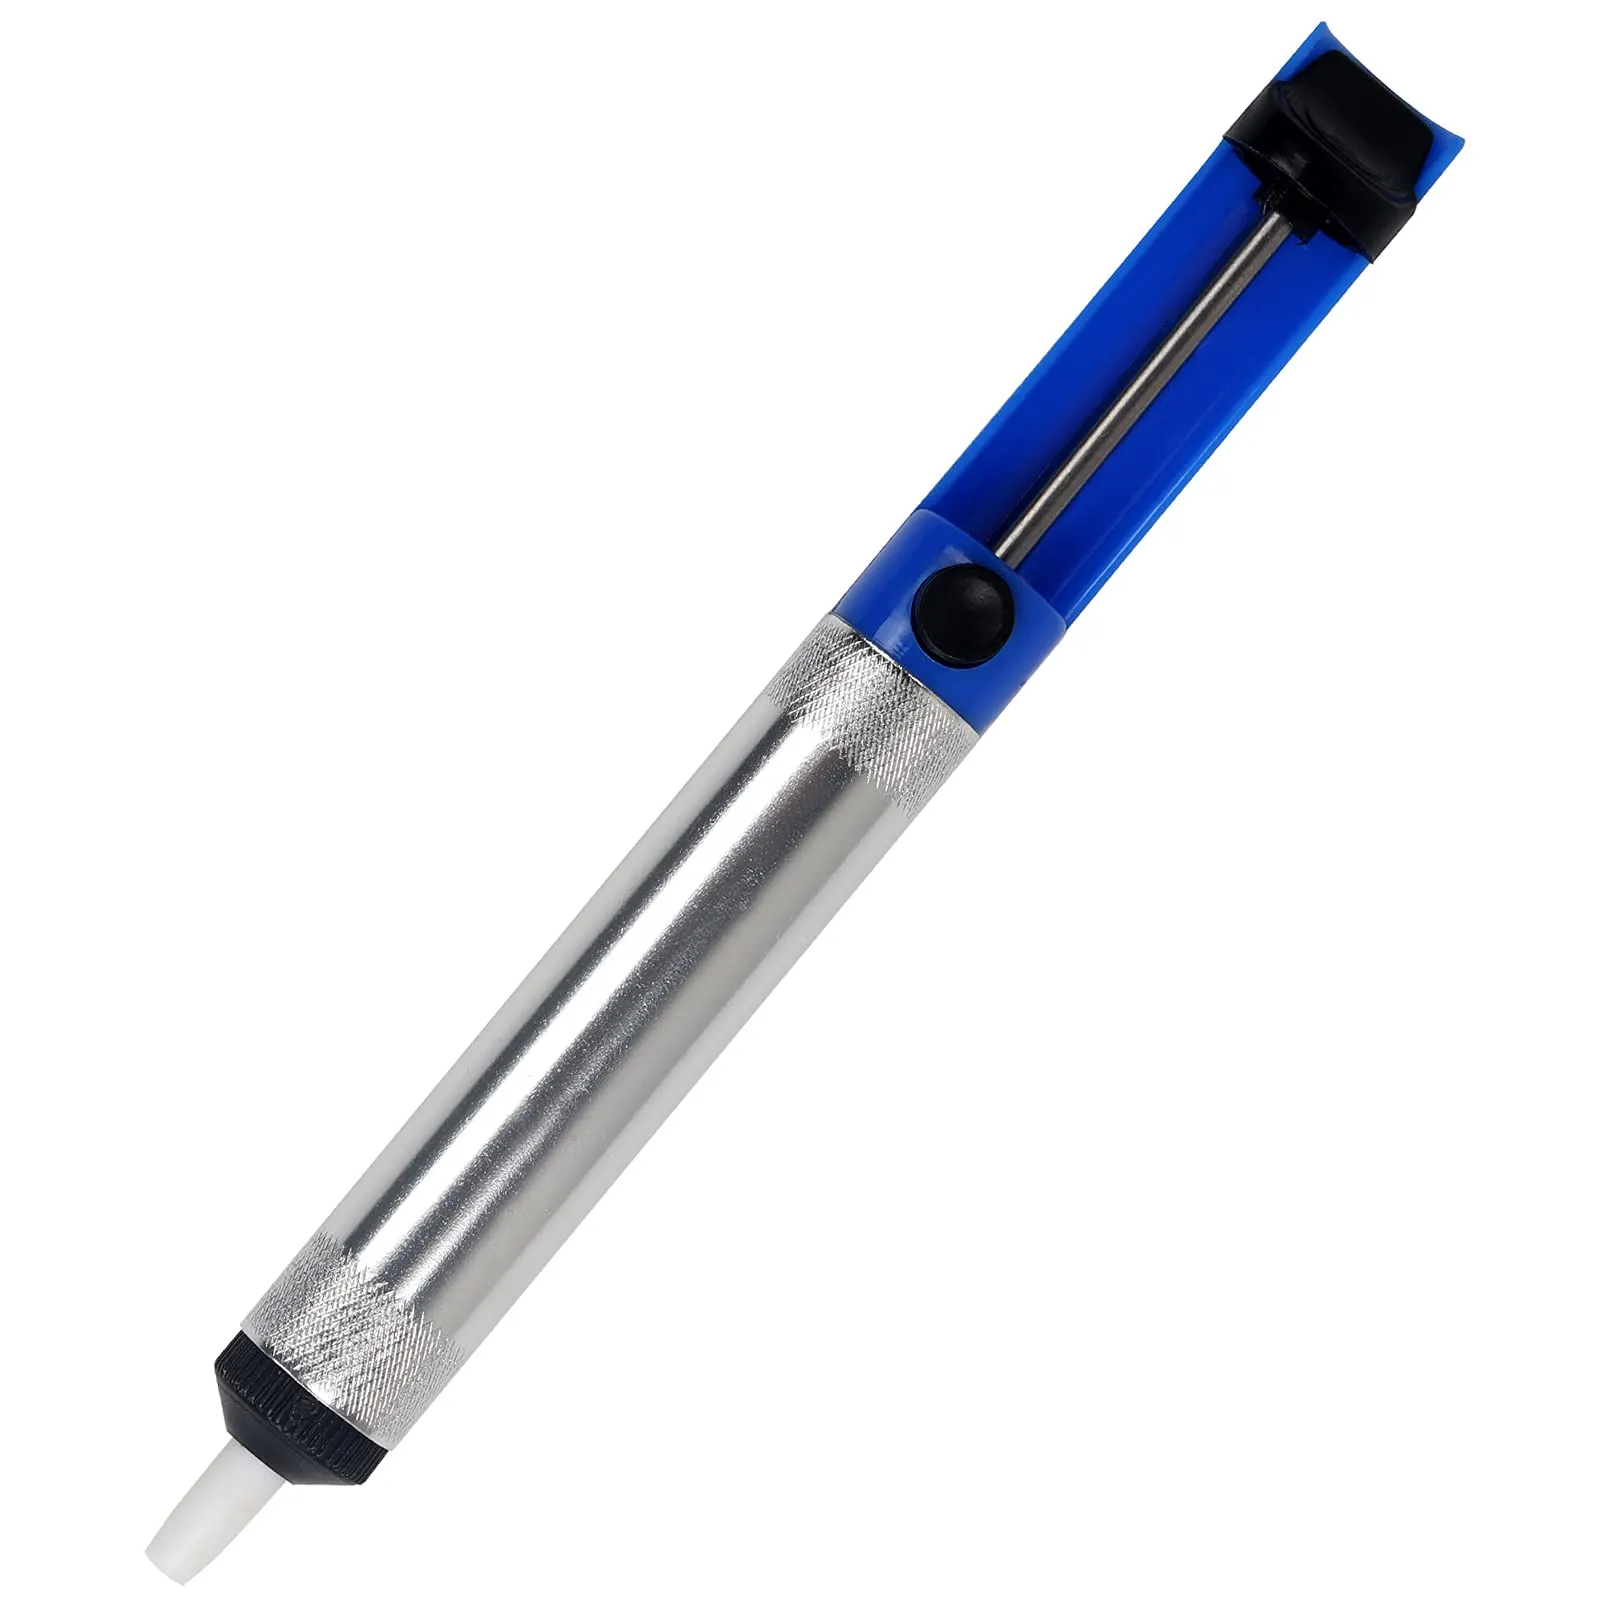
i needed to:
- use the solder tip to melt the solder joint to its molten state
- push down the pump handle
- press the release button DIRECTLY at the molten solder
if successful, the molten solder will go up to the pump
rubber mat
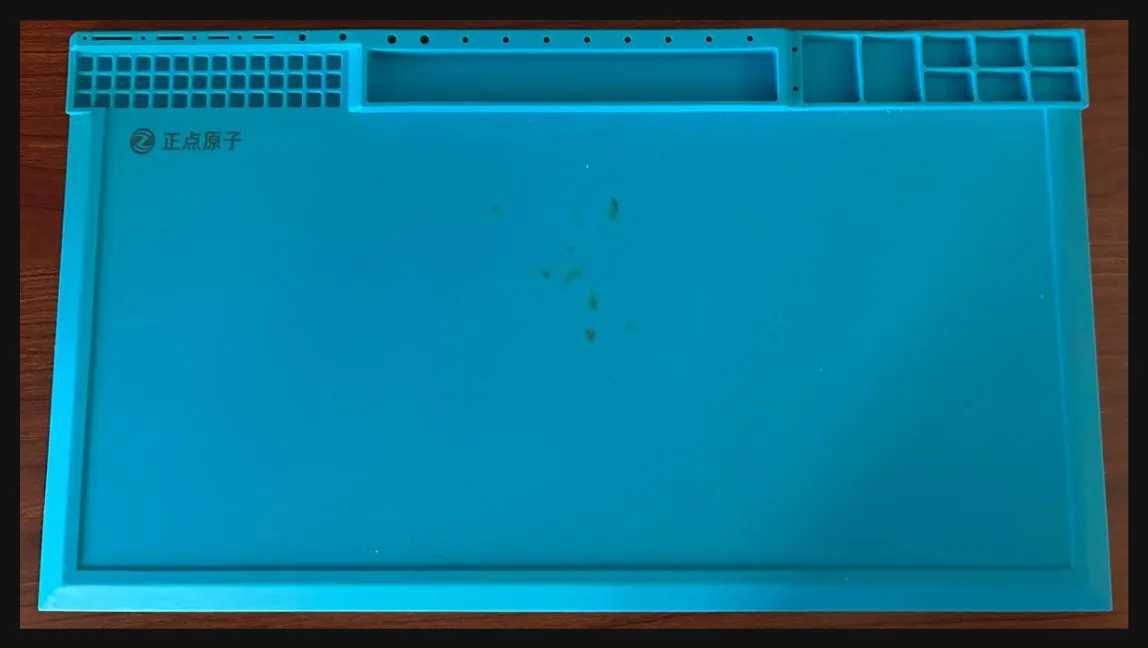
this cost about 50 RMB (~10SGD), it protects my table from getting burns. i don’t want a hole on my table when the molten solder drops on it by accident.
practice time!
to recap, i’ve a few equipments in place:
- soldering station
- solder tip
- solder flux
- desoldering pump
it was time to PRACTICE!
the virgin attempt
i had a 16x2 character LCD display i’ve gotten from my previous run at sim lim square. i couldn’t use it because there was no pin heads attached to the pin hole.
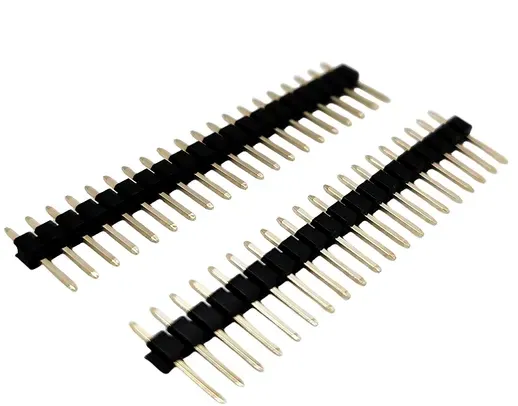
so this became my sacrificial piece. i attached pin headers to the breadboard and slotted in the lcd display pins which provided a stable work area and i started soldering.
(btw, this is how pin headers look like)
this was the result
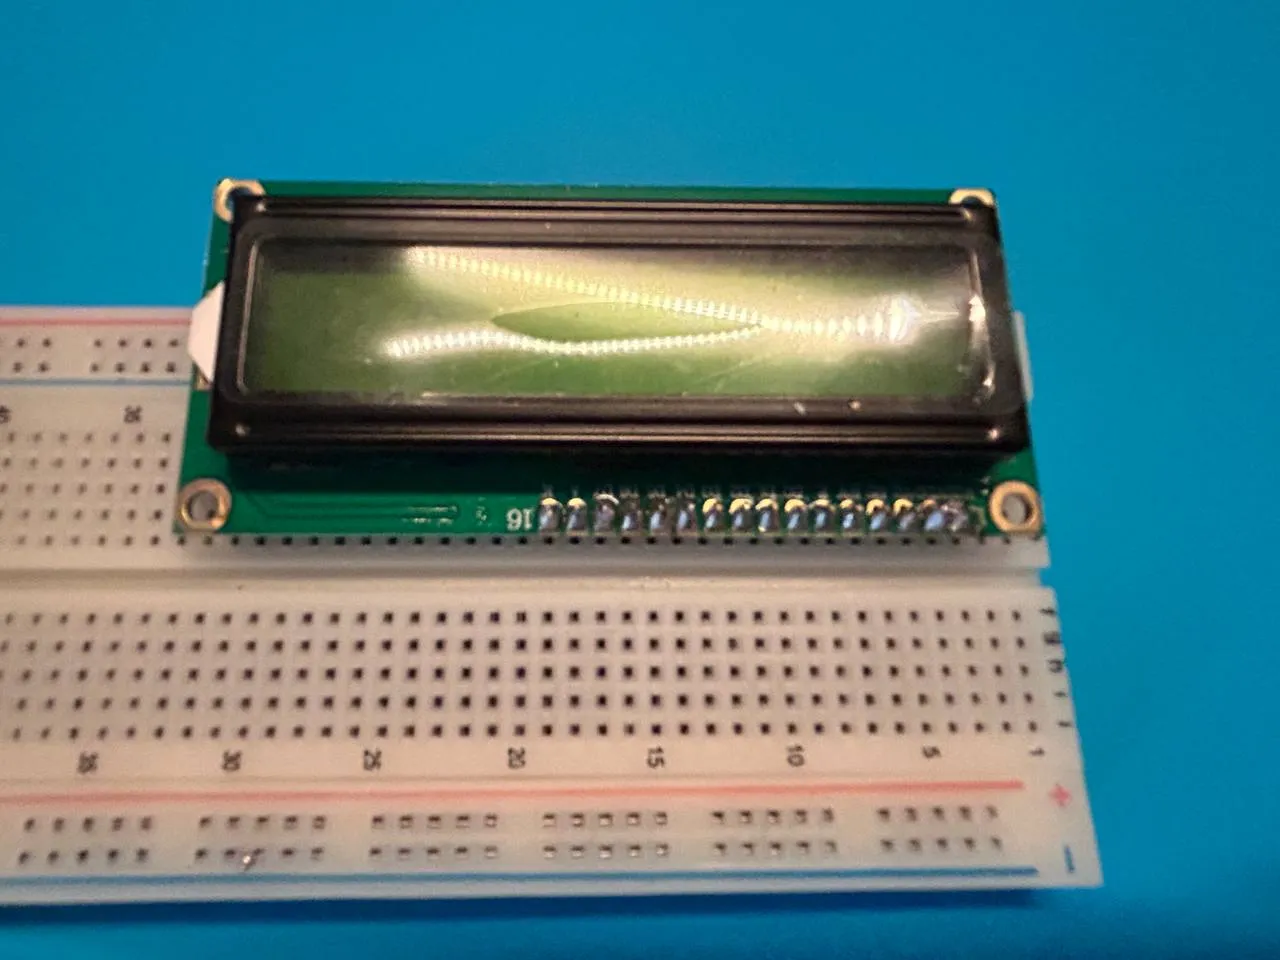
and it SUCKED real bad (nothing beats reality slapping me in the face eh?)
what made it BAD?
- the solder only filled the front of the contact pad and the back is not filled at all.
- desoldering was a real pain in the arse with a pump and it did not work at all.
- i burnt the board while i’m at it. so luckily, i didn’t practice on the kits i’ve gotten.
- lastly, after soldering for a solid 30mins i start to get lightheaded because i’ve been inhaling all the solder fumes
all these gotta change!
after soldering review
here’s what i’ve realised:
- a desoldering pump SUCKED, it was so difficult to use.
- i had to juggle between trying not to burn the circuit board with the solder tip, readying the pump and aiming it directly at the molten solder. f** me
- k shaped tip was quite difficult to use
- because of its long shape, it was quite difficult to isolate one contact pad. i was accidentally heating up two pads down from the main one
- tin the tip for longevity
- my solder technique SUCKED which resulted in the half filled solder joint
- fume extractor is really important. after attempting this for 15-30mins, i actually got light headed (am i weak or what !?)
- i need a low cost manner to practice soldering without haemorrhaging money on actual components
so with those in mind, i purchased a few more equipments and changed my approach.
the changes!
1. desoldering wick
instead of the desoldering pump, i’m using a desoldering wick from hakko:
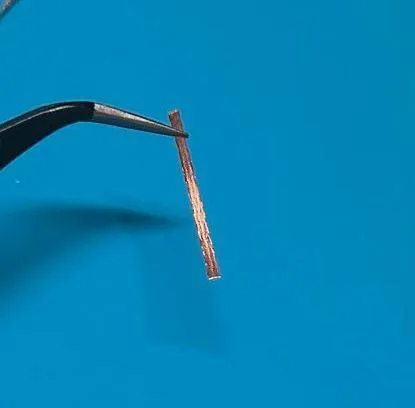
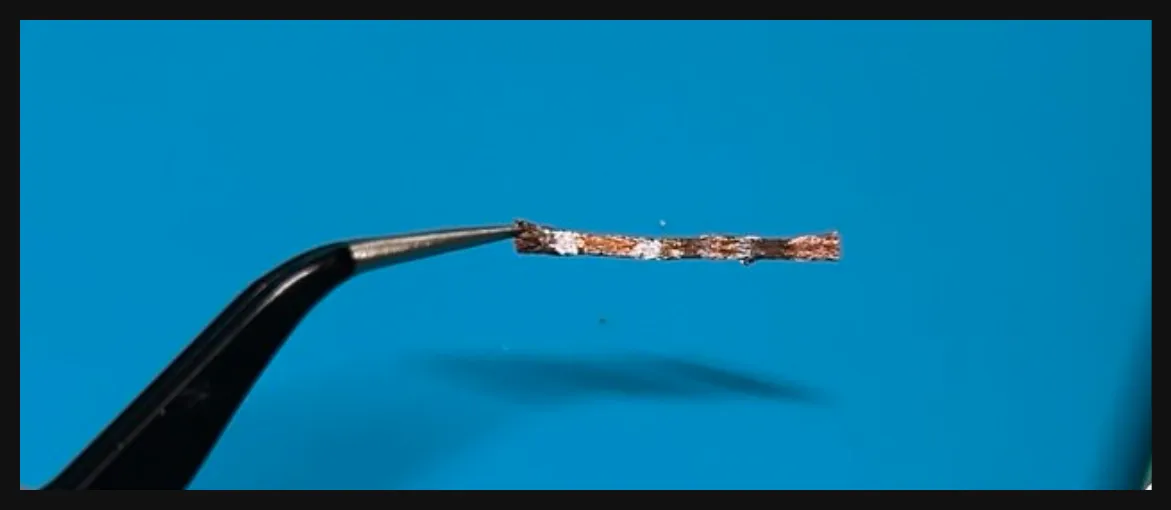
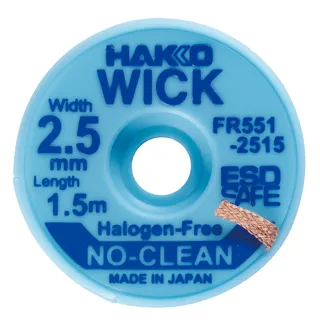 the solder wick is made of copper wires. to use it:
- cut the wire to length / long enough to absorb the molten solder
- place it on the solder joint to desolder
- use the soldering iron to heat it up BOTH the wick and the solder joint
- after a while the solder joint should go up to the wick and be desoldered from the component
i learnt this stuff from: https://www.youtube.com/watch?v=IjOh5ShVX_w
new (cut to length)
used
2. tip change
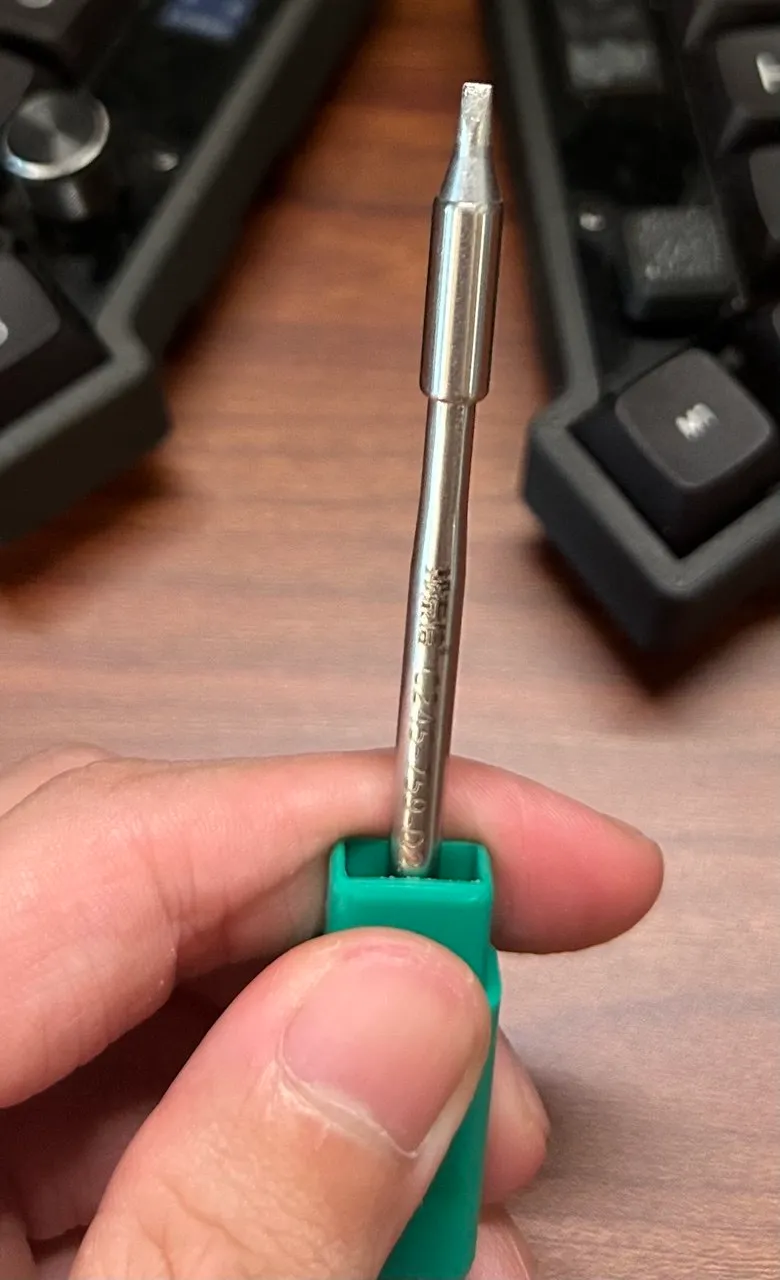
instead of a k-shaped tip, i changed it to a 2.4mm chisel tip.
the difference was HUGE, it’s so much easier to solder a through hole component because the contact point is concentrated on one pad which means i don’t need to worry about burning the other pads unlike the k-shaped tip
new tip
3. tip maintenance
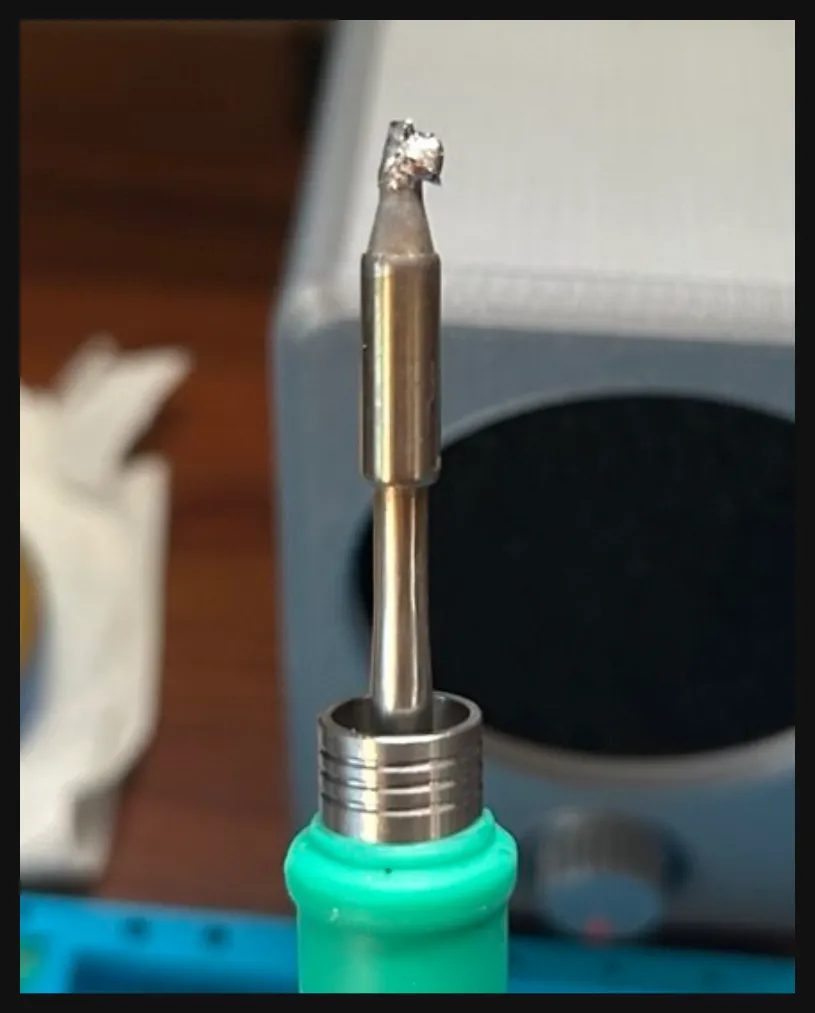
i can’t add anymore to this topic, watch this banger to make your tip last!
oh and for storage, i heavily tin it to prevent oxidation
4. soldering technique
i had a rough idea of what to do but it still resulted in a bad solder joint as seen from above.
so i went on google and found this graphic and video, both are GREAT explanations
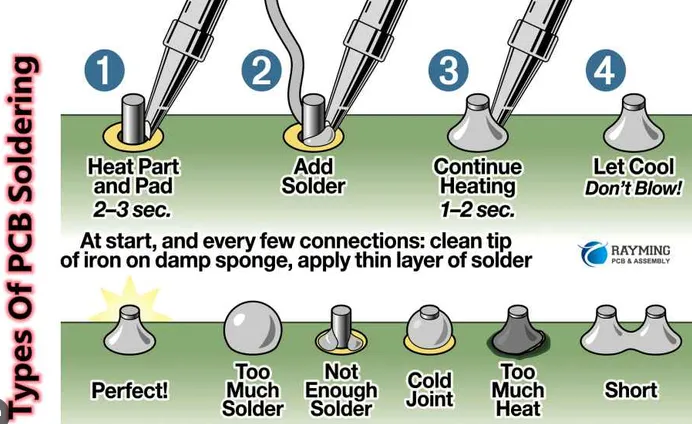
i practiced based on their advice and this is what i came up with
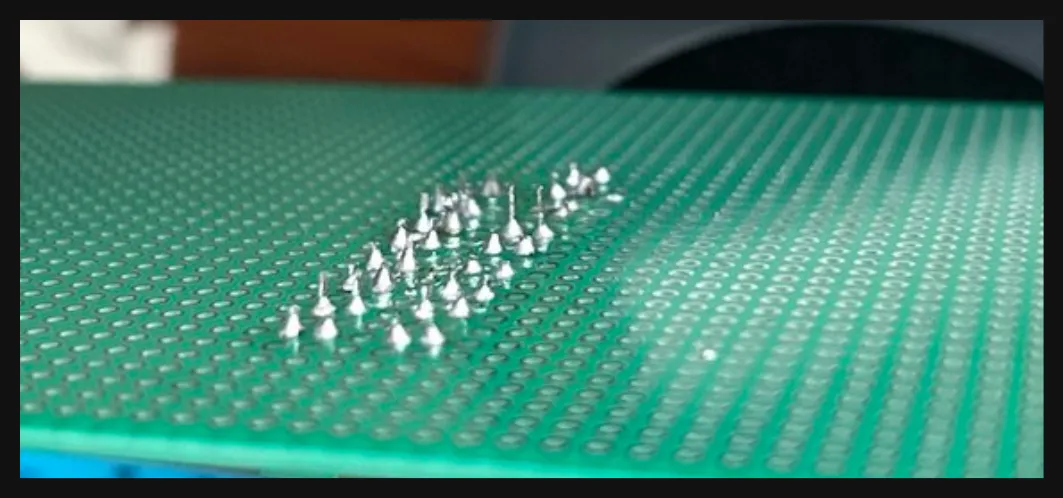 not too shabby i’d say!
5. fume extractor
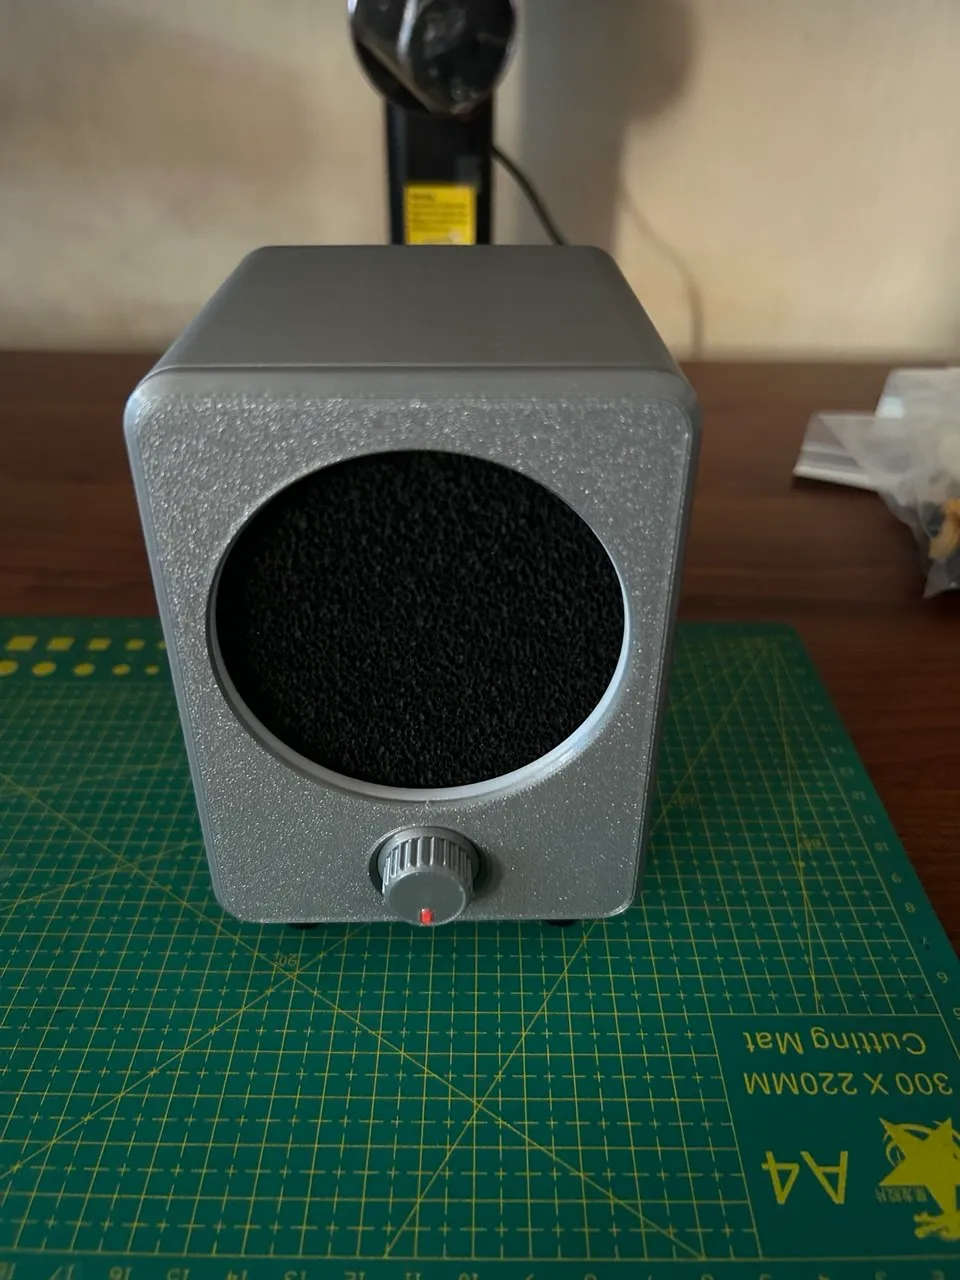
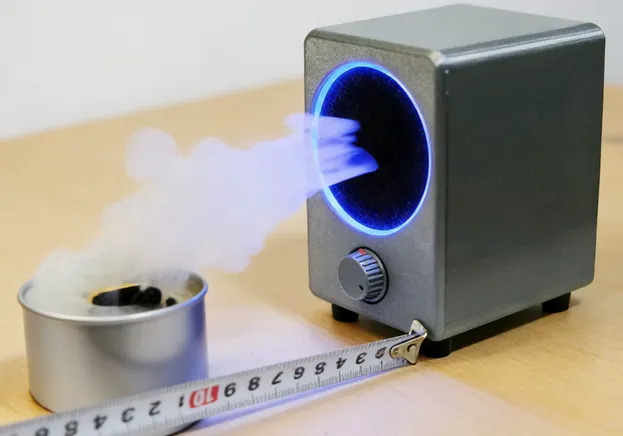
this was so worth it! it was only about 20~30 SGD, i don’t have to deal with the fumes going up my lungs and feel lightheaded
6. low cost practice!
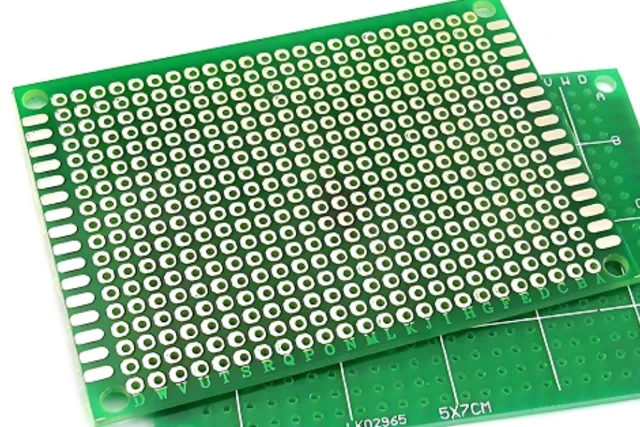
perfboard have many holes with contact pads which allows me to practice at a low cost to put the reps in.
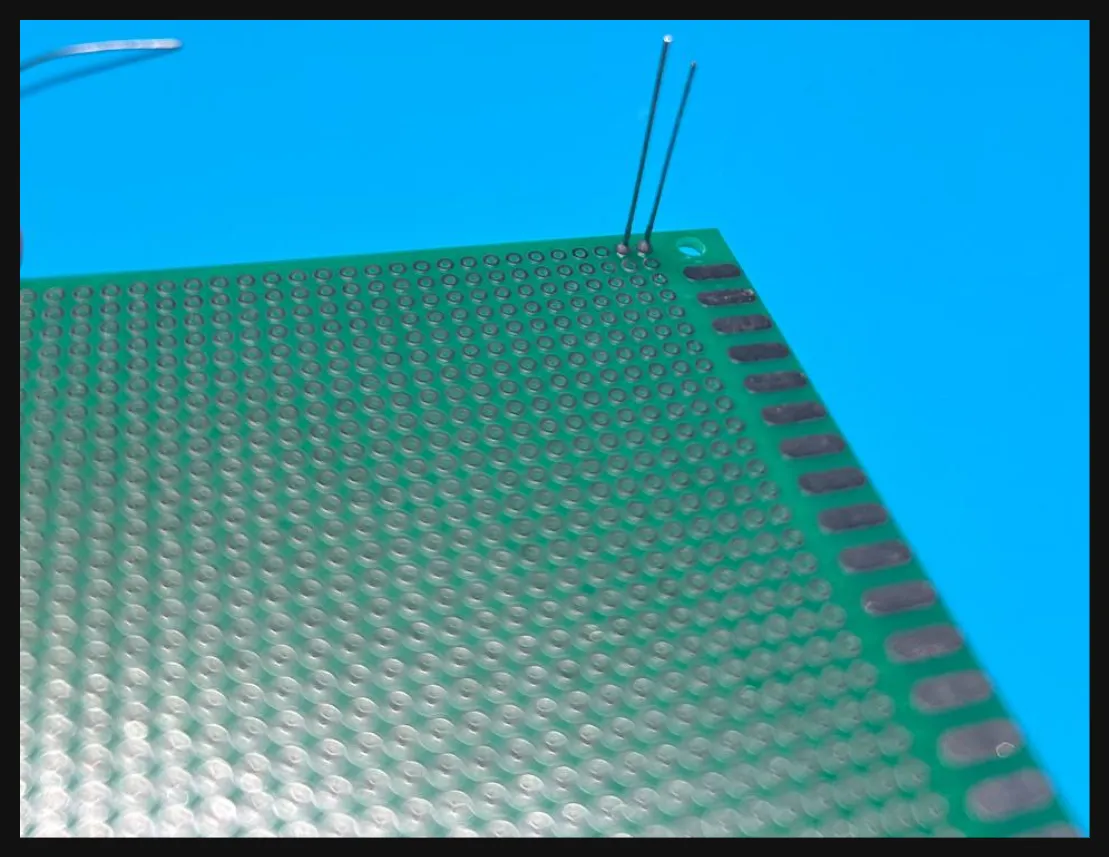
i also got a bag of 100 leds as my components to practice soldering
takeaways
soldering became much more sustainable (for my health) after addressing the gaps from my first attempt.
i no longer need to worry about the incorrect tip accidentally burning the other contact pad, getting light headed from the fumes, being able to practice at a low cost to get feedback and rectifying my mistakes with a solder wick instead of a pump.
so if anybody out there wants to start soldering, here are the few things i recommend to get
- soldering station
- be careful of cheap soldering irons, you might spend more time fixing it rather than using it
- flux
- there’s two types of flux: syringe and paste (the one you see here). either is fine, use what you can get
- paintbrush to apply the flux
- solder wire
- 60(lead)/40(tin) is the most common mixture out there, the lower melting point makes it more beginner friendly
- solder wick
- choose about 2.0 ~ 2.5mm in wide for the wick, 1.5mm is too small
- solder tips
- different tips have it’s own uses. chisel tip 2.2-2.4mm seems to be most versatile one for through hole soldering as it’s wide enough to heat up both the contact pads and the component pin
- read here for more info
- fume extractor
- perf boards
- cheap leds for practice
- rubber mat
parting thoughts
i’ve realised that the tough part of soldering wasn’t the process of doing it, but it is the time taken to evaluate and find the right equipment.
it’s a balancing act between finding something that isn’t too cheap and too expensive. cheap equipment tends to breakdown after a few tries and it gets costly spending extra time to fix it or spending money to buy another one. on the flip side, expensive equipment, well can cost too much to purchase for a beginner.
additionally, designing a low cost feedback loop helped me to get the reps in and reduce cost. with a perfboard and bag of LEDs, i can just mess up or accidentally rip off a contact pad without worry about damaging the actual component or the cost.
lastly, on a individual level, i find that the cost of recovering from mistakes is quite different between software and hardware.
in software land, when something goes wrong in production. we can:
- rectify errors by changing lines of code
- roll back a change in production within a few minutes
- escalate and call a colleague to help me debug an issue
- fix load issues by spinning up more servers with a button click away from cloud providers
but in hardware, a mistakes can range from: a shorted circuit, which might damage the components; programming something wrongly and the servo or motor spins too fast and spoils and so on.
without any spares on hand, getting a new part is quite painful as it is costly in terms of shipping time and money. it can take up to days or weeks for it arrive and it can cost quite a bit for the parts and shipping fee.
thus, other than thinking through what component is needed, i find that planning for potential failures can be a time and cost saver. with spares in hand, i don’t need to wait too long to rectify my mistakes.
not that software don’t require planning, it does on bigger scale such as data migration, maintenance work and so on. but for hardware, even on a personal level, you’d already need to start planning forward to try and minimise wasted time.
till next time!